But most of the time it fails to diagnose and fix the issue with Microsoft Store. In this situation, the last resort is to reset the Microsoft store and its cache. Fortunately, resetting Microsoft Store fixes almost any issue related to Microsoft Store. Some of the recognized issues are as follow:
Fails to install apps, games, and theme from Microsoft StoreMicrosoft Store fails to Acquire License errorMicrosoft Store Error 0x80073cf9 when trying to install apps from Microsoft StoreMicrosoft Store Error 0x8024600e when trying to update and install apps from Microsoft StoreRandom Microsoft Store apps freeze and crashesMicrosoft Store not opening on Windows 10
How to Reset Microsoft Store and it Cache in Windows 10
In case, you’re facing any of the discussed Microsoft Store issues or whatever is the reason behind resetting Microsoft Store and its cache you can follow any of the way discussed below:
Reset Microsoft Store via Settings app
- Launch Settings app on Windows 10. For that press WIN + I keyboard combination.
- Click on Apps > Apps & Features.
- On the right side scroll down until you see an application named Microsoft Store. Click on the link named as Advanced options.
- This will launch the Microsoft Store settings page where you need to click on the Reset button, and in few seconds it will reset Microsoft Store. Pretty easy right? Yes, it is!
Reset Microsoft Store via WSReset.exe
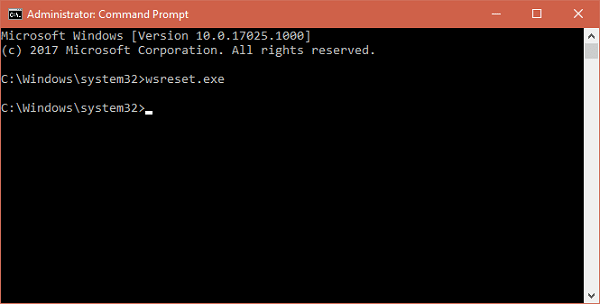
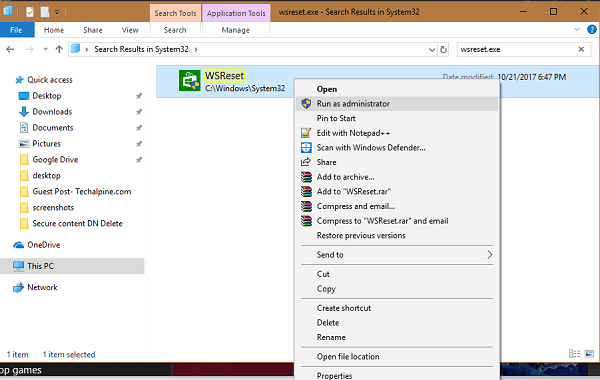
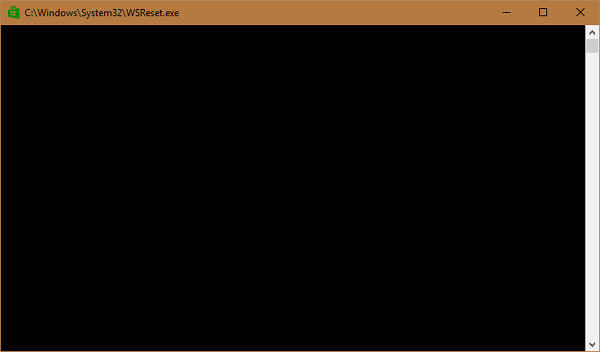
Launch Elevated Command Prompt in Windows 10. In the command terminal type WSReset.exe and press Enter. Wait for few seconds once the process is completed the cursor will move to next line. Note: This can take time depending on data available on cache and data available on the Microsoft Store. Alternatively, navigate to the following directory in Windows 10 C:/Windows/System32. Here search for the WSReset.exe file and when it appears, make a right-click and Run as administrator. When UAC dialog box appears, click Yes to continue. Now a blank command prompt terminal will appear. Do not close the Command prompt terminal until it closes itself. Once done you have successfully reset Microsoft Store.
Reset Microsoft Store cache folder in App Directory
The process of clearing cache available in the Microsoft Store cache folder in-app directory is also easy. You just need to:
- Launch File Explore. You can do that by pressing WIN + E keyboard combinations.
- In the File Explorer address bar, paste following address:
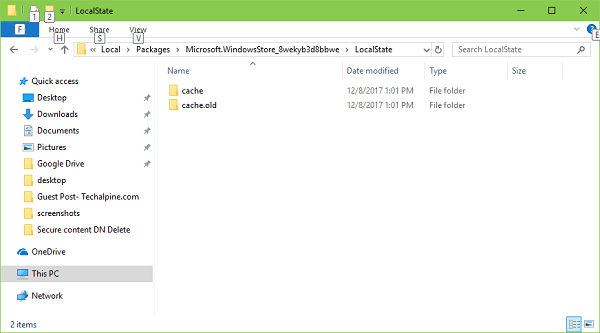
C:\Users<username>\AppData\Local\Packages\Microsoft.WindowsStore_8wekyb3d8bbwe\LocalState
In above address replace
with the username of your Windows 10 PC. In my case its GeekerMag so the address will come C:\Users\GeekerMag\AppData\Local\Packages\Microsoft.WindowsStore_8wekyb3d8bbwe\LocalState Note: You will only reach LocalState folder if the option to show hidden item option is enabled. Else you see a warning message. - In the LocalState folder, first of all, look for Cache folder if it is available, rename it to Cache.old and create a new folder named as Cache. In case there is no Cache folder, then create one and name it Cache.
- Once done close the File Explorer and reboot the system.
Reset Microsoft Store Cache by Re-registering
In case, you want to reset Microsoft Store and its cache completely; then you can also reregister the Microsoft Store app. For that:
- Launch Elevated Windows Powershell. For that, Search Windows Powershell in the Start menu search bar and when the same app appears in the search results make a right click and Run as administrator. When UAC dialog box appears, click Yes to continue.
- In the Windows Powershell terminal type following command: powershell -ExecutionPolicy Unrestricted Add-AppxPackage -DisableDevelopmentMode -Register $Env:SystemRoot\WinStore\AppxManifest.xml Now, wait until you get the confirmation about the completion of the process. Check out video tutorial on my YouTube Channel: Update – The article was originally published on 17, September 2017 and to keep it fresh, we have updated it again on 18, January, 2021


